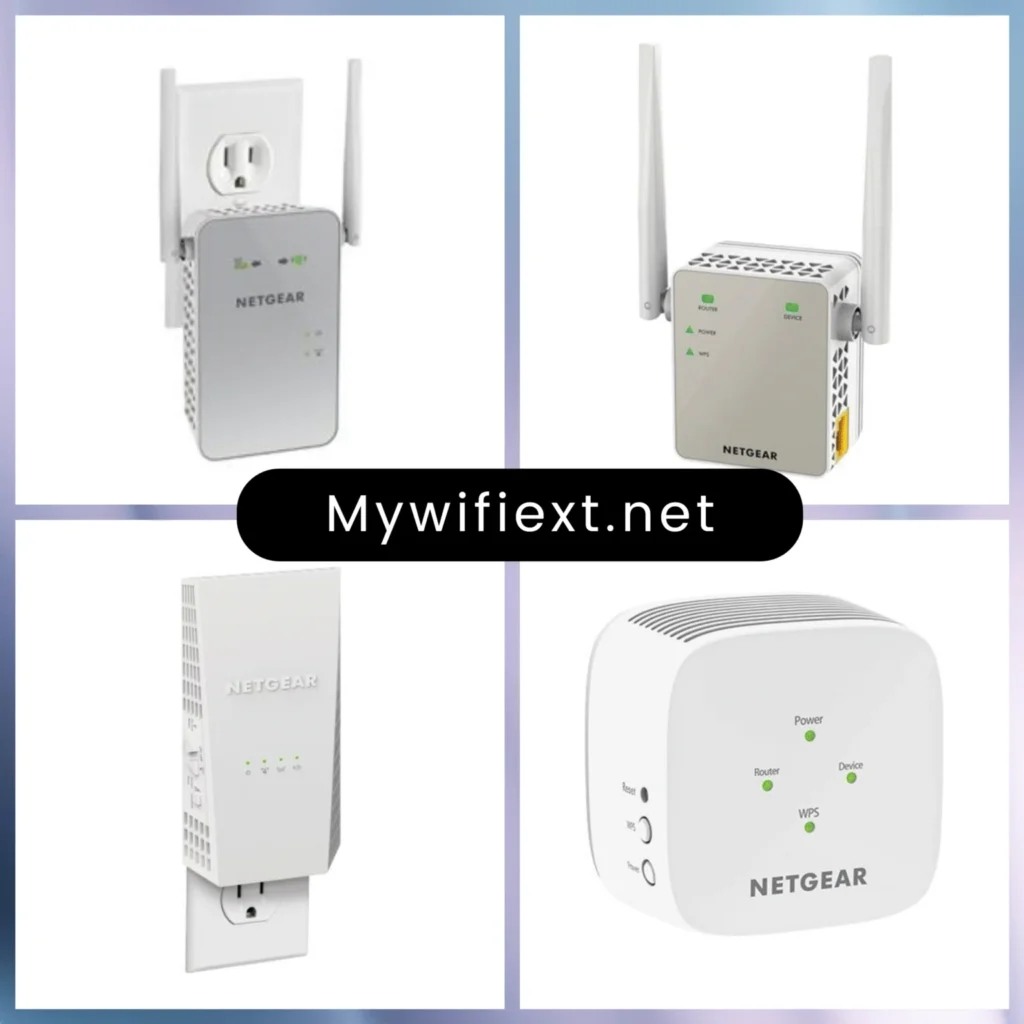
Welcome to Mywifiext ExtenderConnect
Experience smooth and stable internet connectivity in every corner of your home.
With Mywifiext-ExtenderConnect.site, setting up your WiFi range extender becomes quick and effortless.
Say goodbye to weak signals, buffering, or dropped connections — follow our step-by-step guide to get started
MyWiFiExt Setup Overview
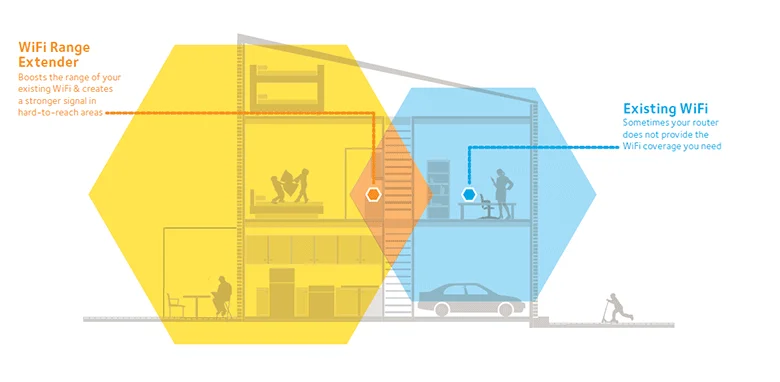
Dead zones, buffering, or interrupted video calls — these are signs your WiFi coverage needs a boost.
A WiFi range extender can expand your signal reach and strengthen connectivity across multiple rooms.
The best part?
You can easily configure it through www.mywifiext-extenderconnect.site in just a few minutes — no technical knowledge required.
This guide will walk you through:
How to install and connect your extender
Common setup issues and simple fixes
Tips for improving your extender’s performance
Start a New Extender Setup
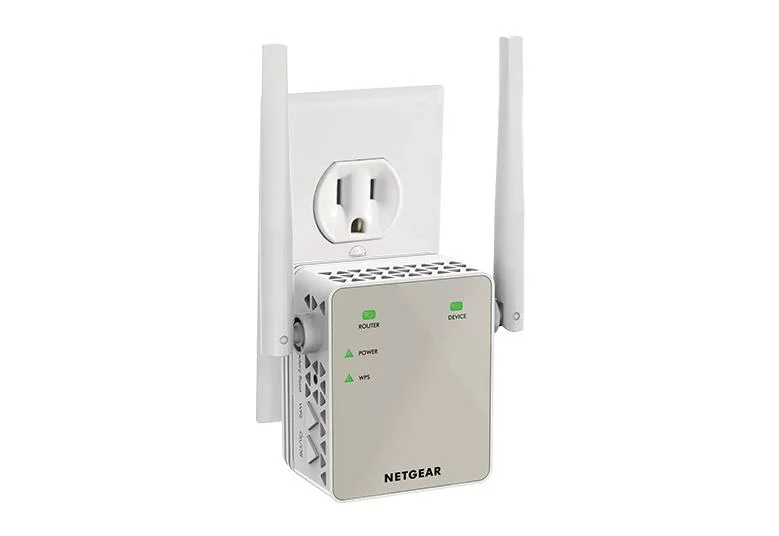
Step 1: Plug In and Power On
Connect your extender to a power outlet near your main router.
Wait for the indicator light to turn solid (green or white).
If it doesn’t light up, try another socket.
Step-by-Step Setup Using Aircorehub.site
To ensure your extender works at its full potential, follow these detailed steps to
complete the installation process.
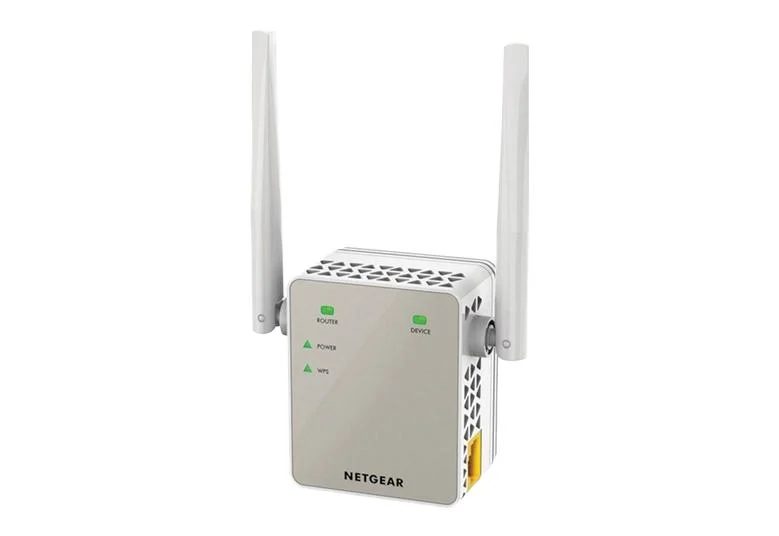
Step 2: Connect to the Extender Network
On your laptop, phone, or tablet, open WiFi settings.
Look for the extender’s network name (it may include “_EXT”).
Connect to it. Don’t worry if it says “No Internet” — that’s normal during setup.
Step 5: Link the Extender with Your Router
The setup wizard will display a list of nearby WiFi networks.
Select your main home WiFi network.
Enter your WiFi password to connect both devices.
If your router has both 2.4GHz and 5GHz bands, you can choose to extend either or both.
Step 3: Open the Setup Page
Launch your web browser.
Type www.mywifiext-extenderconnect.site in the address bar (not the search bar).
If it doesn’t load, enter the IP address 192.168.1.250.
You’ll now see the extender’s configuration dashboard.
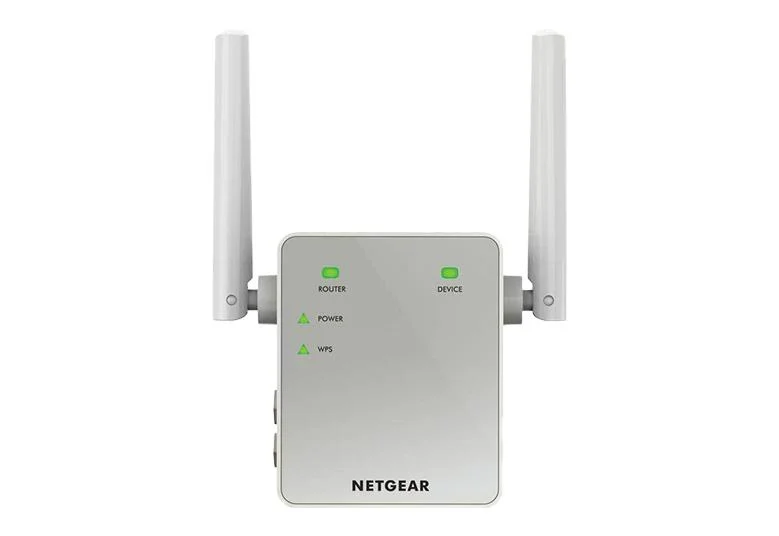
Step 4: Create a Login Profile
Choose a username and password for your extender admin page.
Set a few security questions for easy recovery later.
Keep these credentials safe — you’ll need them to manage your extender settings.
Resetting Your Extender
If your extender ever stops responding or you want to start fresh, resetting it is simple:
Find the reset pinhole on the device.
Use a paperclip to press and hold it for 10 seconds.
Release once the lights begin flashing.
Wait for a restart — it will return to factory settings.
Repeat the setup steps using mywifiext-extenderconnect.site.
WiFi Booster Tips for Better Performance
A few smart placement tricks can make a huge difference in your WiFi quality:
Find the Ideal Location
Place the extender midway between your router and the low-signal area.
Check that the signal strength from the router is at least 50%.
Avoid Obstructions
Keep away from microwaves, thick walls, or metallic objects.
Avoid clustering near cordless phones, refrigerators, or Bluetooth speakers.
Use Ethernet for Stable Speed
If your extender has an Ethernet port, use it for gaming consoles, PCs, or TVs to enjoy faster wired connectivity.
Optimizing Coverage
Proper placement ensures your WiFi extender performs at its best.
Here’s how to get the most out of it:
Avoid corners, closed cabinets, or behind furniture.
Keep the extender in open, elevated spaces.
Use signal strength indicators on the device to find the best position.
Reboot your router and extender occasionally for optimal speed.
Frequently Asked Questions
Q1: What devices can connect to the extender?
Any WiFi-enabled device such as laptops, smartphones, tablets, smart TVs, and IoT gadgets.
Q2: Can I move the extender after setup?
Yes — just ensure it remains within range of your main router’s signal.
Q3: Should I keep the same WiFi name for both networks?
You can. Keeping the same name allows seamless roaming; using different names helps identify the connection.
Q4: How do I update my extender’s firmware?
Log in to your setup page → Settings → Update, and follow on-screen instructions.
Common MyWiFiExt Setup Issues (and Quick Fixes)
Page Not Opening
Cause:
You’re not connected to the extender’s WiFi.
The web address is mistyped.
Fix:
Connect directly to your extender’s WiFi network.
Use the exact link: https://mywifiext-extenderconnect.site